hover over

HOVER OVER ANY PHOTO AND SHARE IT ONTO YOUR
PINTEREST, FACEBOOK OR TWITTER ACCOUNTS


Showing posts with label shaped cards. Show all posts

Sunday, December 25, 2016

Merry Christmas With a Double Z card and Tutorial

Wishing you a wonderful time
on this Christmas Day

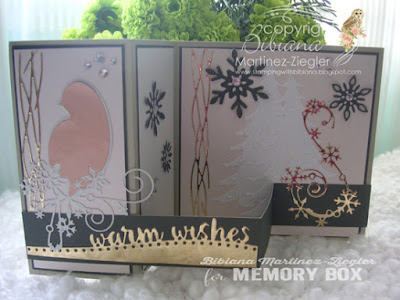
double z card merry christmas front
 
 celebrating this special day 
with a "Double Z" card

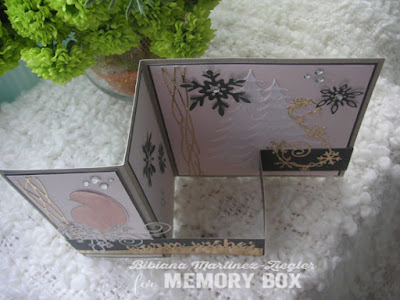
double z card merry christmas top view

details of the side panels
left

double z card merry christmas side view

right

double z card merry christmas right side view

closes flat

double z card merry christmas closes flat
opened flat

double z card merry christmas closes flat

last view

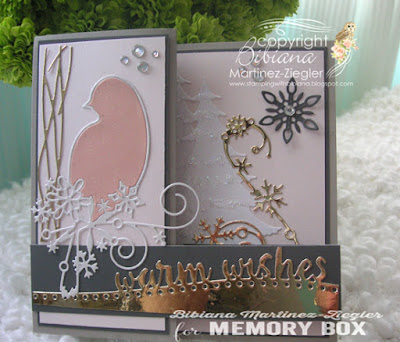
double z card merry christmas
Christmas Present
"tutorial: How to make a  Double Z card"

steps:
base card: 
card measures 51/2" x 51/2" 
cut paper 51/2 x 11
fold at 2 3/4"  & 5 1/2"

Band: 
cut paper 1 1/4 " x 11"
fold at 2 3/4";  5 1/2" (same as base card)
Important: glue over left front panel ONLY 2 3/4" of the band; and on right side panel also glue 2 3/4' of the band

summary:
folded square card; front panel (51/2")  folded on itself towards the left
add a band from side to side at the bottom (see "opened flat" photo above )


SUPPLIES

Tuesday, March 8, 2016

Valentine cards...

Hello dear friends;

Valentine's is way way over ....!!!

but I did not get the chance to publish these cards that I made for this special day...
so here we go...
Two cards very similar and one more masculine and modern one...

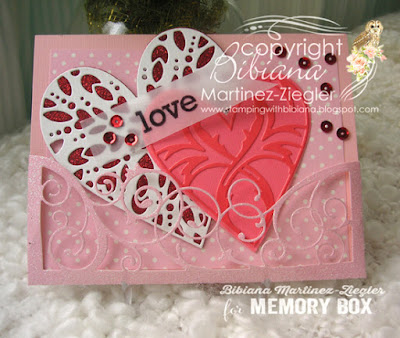
This first card is a shaped card "Stair Step card", that I gave to my mother...showcasing all the wonderful hearts that Memory Box released in this 2016 collection!

valentine's step card side view

plenty of hearts and butterflies
another view...

valentine's step card front view


this 2nd one has a front pocket (the scrolls are the front of the pocket) to hold those hearts...mystery love messages or some chocolates!

valentine's pocket card side view

front view;

valentine's pocket card front view

These 2 cards share the same colors...and were published at the language blogs for "Memory Box"... using of course their steel Dies

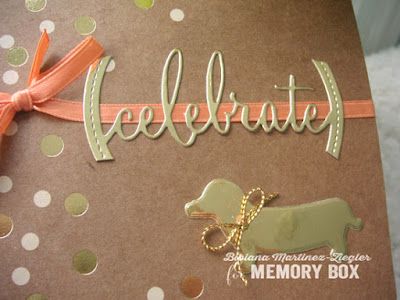
And  this last one I gave to my husband in Sasha's name (our Husky)...
I do not have a "Husky" die cut :(

valentine's doggie card front view

That day we spent the day with her...she is getting older day by day and we know that she does  not have much longer with us...
so we decided to celebrate this "love" day with our beloved "baby"

valentine's doggie card detail


we took her with us for and open air "breakfast"...and then we went to the beach and spent all day long walking and enjoying the California coast!!!
We, (the 3 of us) had a sunny nice day....

I thank you for the company and I keep apologizing for not coming to your blogs as I would like...but I try to avoid as much as I can the computer...(due to my hands)...which, by the way,  I am much much better, thank God!... but I do not want to aggravate the injury...

Until next time for some felt projects for Easter!!!

visit my INSTAGRAM


SUPPLIES 


Saturday, October 31, 2015

Halloween Side Step Card

Happy Halloween!

I used a side step card to display all these die cuts paired with some fun small stamps

Happy halloween side step card front

close up

Happy halloween side step card detail

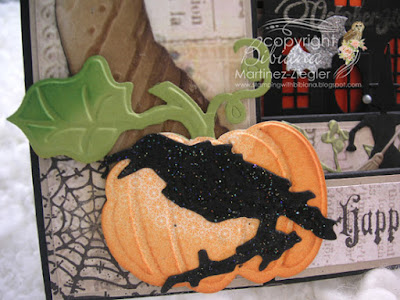
the pumpkin is a "Cuttlebug" die and embossing folder and the crow is a "Tim Holtz" Die

Happy halloween side step card detail crow and pumpkin


Hope you will have a wonderful day...

Happy halloween side step card aerial view

I will certainly be busy receiving all the trick or treaters...

Happy halloween side step card side view


 Follow me on Instagram
and get to see some photos from today!


SUPPLIES


Cuttlebug: pumpkin die  and embossing folder (retired?)
Memory Box: Manor haunted house (retired)
Martha Stewart : bat punch


Sunday, October 25, 2015

Reversed Double Gate Fold Card with Petaloo

Hello My Crafty Friends:

I love to discover new shapes and try them on cards...and To display flowers such as the ones from "Petaloo" or display your patterned papers and all your dies these type of cards are excellent....


I have seeing this type of cards since a  long time ago, but this is the first time that I decided to try this "fancy fun fold",

 
that you may call "Reversed Double Gate Fold" card...because it is in reality a "Gate fold" with double panels but looking it backwards...

how to make the fold
1- cut paper at 11 3/4" x 5 1/2"
2- score paper at 3 1/4" ;  5" ; 6 3/4" ; 8 1/2"
3- make folds as shown
4- cut an hexagon shape, then cut in 1/2
5- place on each side, trace shape on paper and cut


NOTE: To make bigger hexagons than the die; add few inches with a pencil, ruler and cut by hand


I used "Authentique"/nestled collection papers paired with blue and cream/orange blossoms from "Petaloo"!


The center panel, the owl,  is a sticker from "Authentique", "nestled collection"- paper collection...


The left and right panels


 A last view


I hope you will try this fun Shape
a "Reversed Double Gate Fold" card

Thanks for the company 
and see you next time

Follow on Bloglovin


SUPPLIES