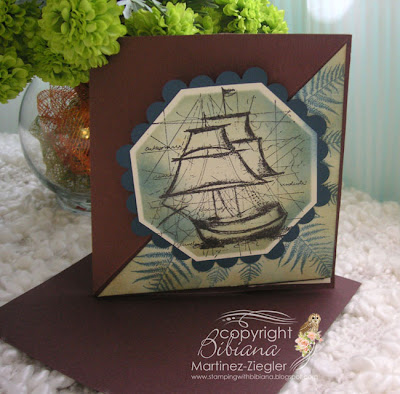
Hello Dear Stamper Friends:
Last Sunday, while we were here in the US commemorating Memorial Week end...
Overseas, in France to be exact, they were celebrating Mother's day...they celebrate it on the 4th Sunday of May...unlike us when it is at the beginning of this month...
So, I featured this card at the French blog
"Un Brin de Créativité" for Memory Box,...this past week end, for all the "french" moms out there
Share Photo on Pinterest: 
I stamped the fountain
twice, one on top of the other one, using the
masking technique and use of the stamp positioner known as the Stamp-a-ma-jig to ensure a good positioning...in order to make this lovely bird bath. I colored it with "Prismacolor" Pencils...
The leaves were inserted inside the Trellis and here it is the items that I used...
Step by Step of the Technique:
1- You will need a stamp-a-ma-jig / stamp positioner (mine is from "Apple Pie Memories: Stamp Positioner" that I bought at Joan's) and a mask of the stamped image (sticky paper: I used "Eclipse Tape")
2-Stamp the image in the lower center of your cardstock and cover it with the mask
 |
| Step #1 |
|
 |
| Step #2 |
|
3-Stamp against the clear angle block the image in the clear sheet as shown
4-Place the clear sheet above the first stamped image on your cardstock...that it is still covered with the mask
 |
| Step #3 |
|
 |
| Step #4 |
|
5-Remove clear sheet, leaving in place the clear angle block and stamp a second fountain against the angle block, remember your mask is still in place...
6-Result: take off the mask and you have 2 fountains on top of each other..
 |
| Step # 5 |
|
 |
| Step # 6 |
|
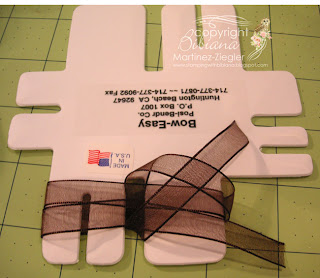
Notice the double loop in the bow, made with the "Bow-Easy" and glued with "Fabri-Tac"
I added some chocolate pearls and that 's it...
A last look...
Thanks for visiting...
I will be bringing to you shortly some cards for men since Father's day is around the corner...until then have a nice day...
Supplies:


